|
|
 |


   |
Creating Unique Designs & Personal TouchesI really enjoy building something unique that reflects my clients beliefs or tastes. That can range from being inspired by a photo to collaborating on a way to add a unique touch that makes my clients smile. Here is one recent example of a simple gate that is transformed by a Tree of Life symbol, shown visually step by step throughout the construction process. (And I know it makes "the client" smile each time because the gate is mine. Yes, I finally had time to make my own!)
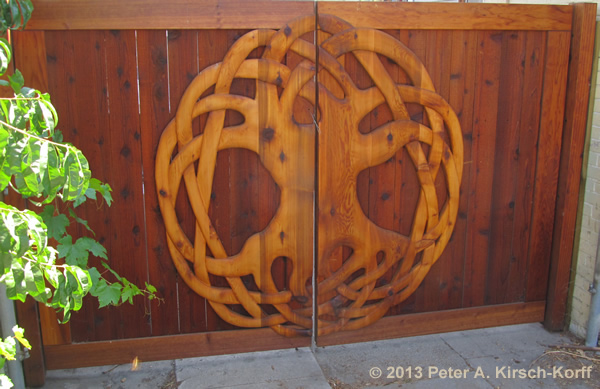
The Finished Tree of Life Gate
This redwood gate with cedar design (learn more) was custom made to add interest to a basic gate.
The Design
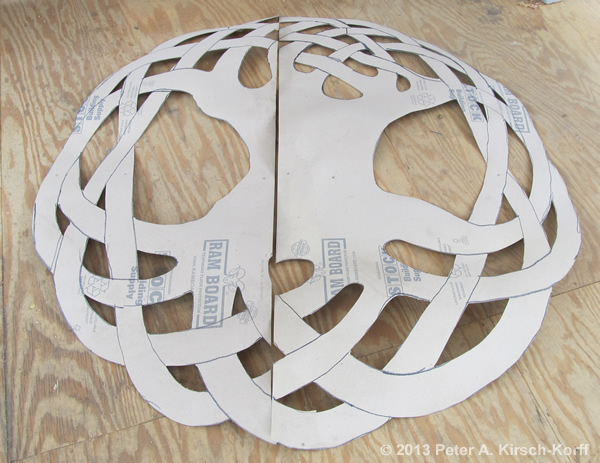
Step 1: The Tree of Life full size cardboard pattern is ready
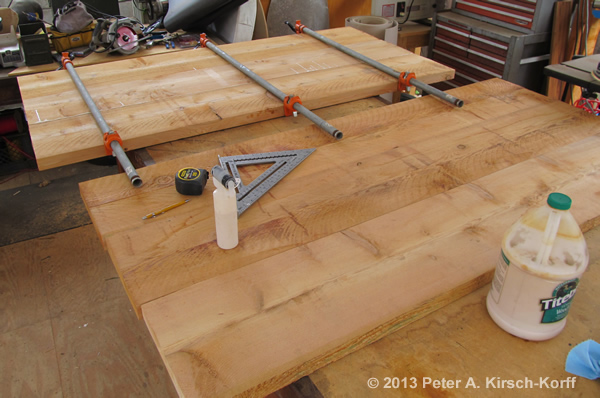
Step 2: The design's two cedar wood blanks are glued up
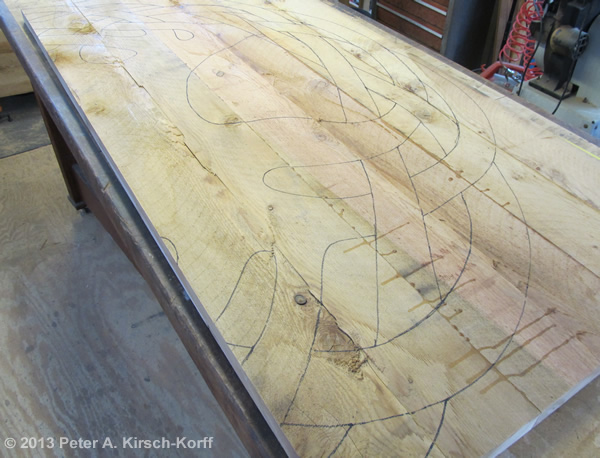
Step 3: The tree pattern scribed into the blank
Step 4: The wood blank marked for cutting out
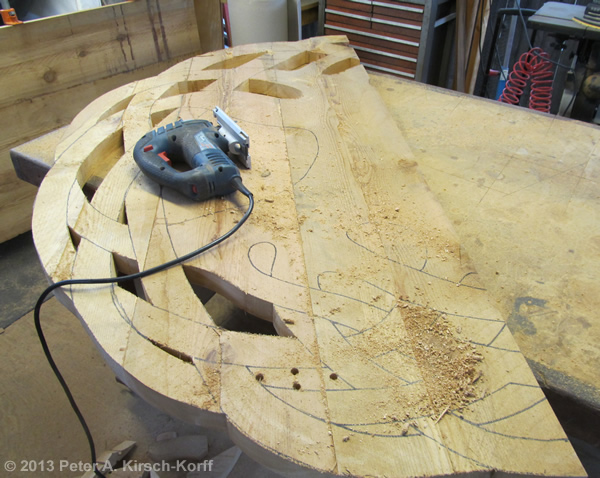
Step 5: Roughing out the pattern with a jigsaw
Step 6: Both halves are now cut out with a jigsaw
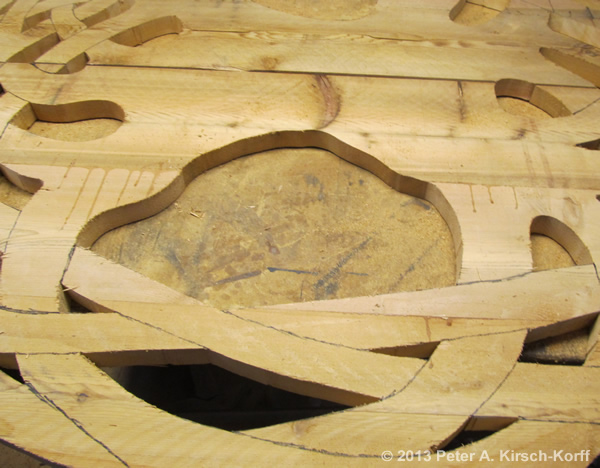
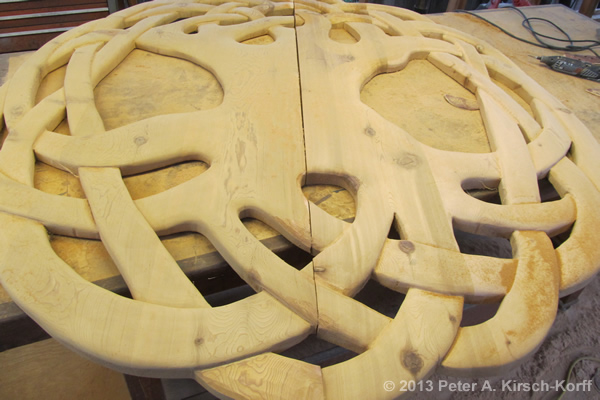
Step 7: Close up of blanks cut out
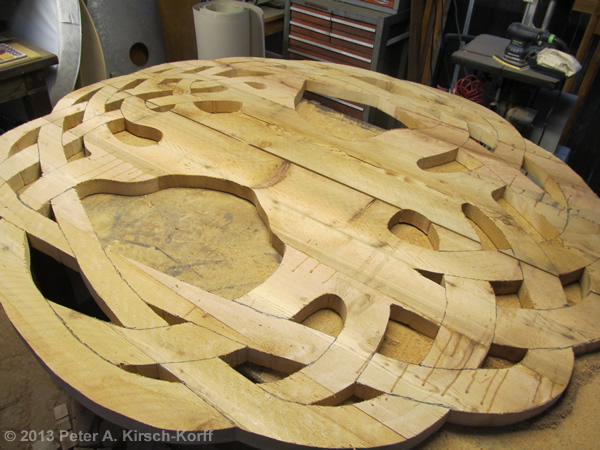
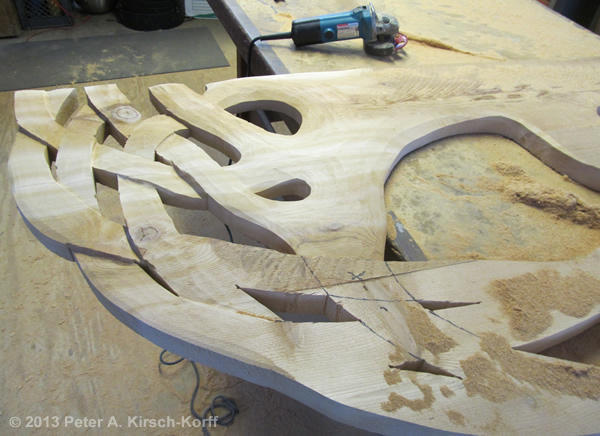
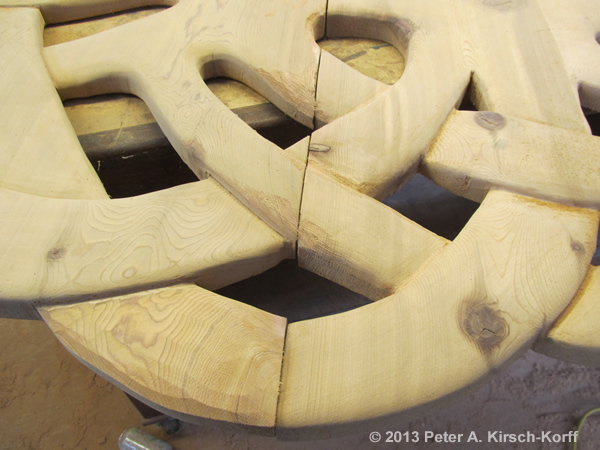
Step 8: Rough grinding out of the tree design
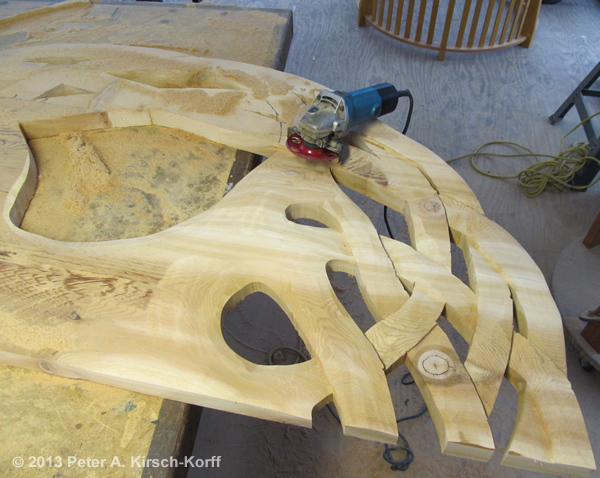
Step 9: Rounding out the cut edges
Step 10: Close up of how the two sides are matched up
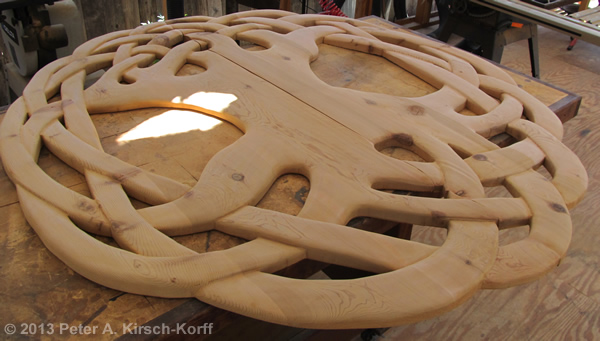
Step 11: The tree halves are finished and matched up
Step 12: The tree is ready to stain and install
Permission is granted to anyone who wants to |
|